Sewing Tutorials
How to Sew an Invisible Zipper Like a Pro (Step by Step)
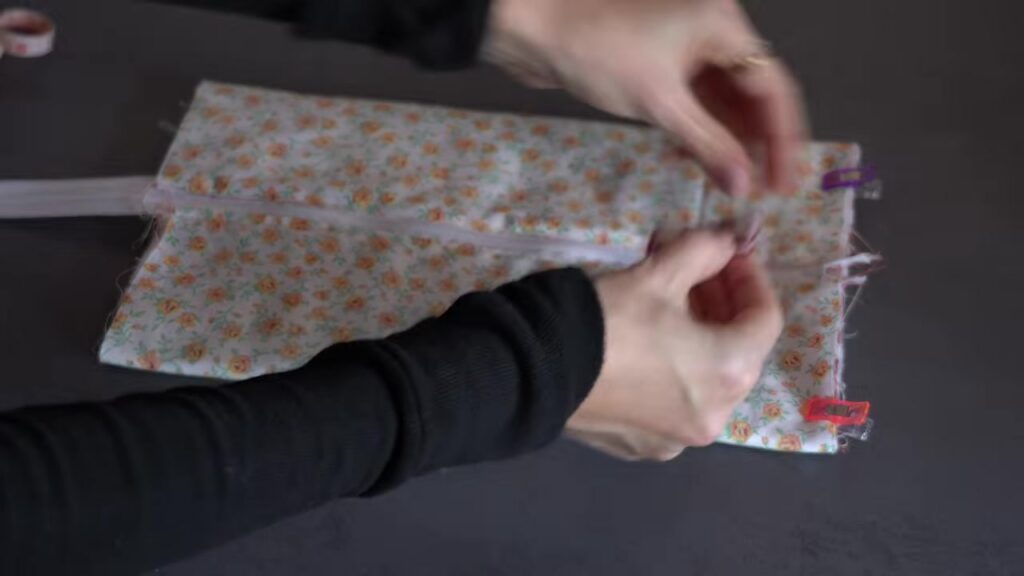
The invisible zipper is the one that separates “homemade” from “handmade.” When it’s installed right, the seam looks continuous, the teeth vanish, and nobody can find where the zipper is — and yet it’s one of the techniques beginners fear most. It shouldn’t be. An invisible zip is actually easier than a regular zip, because the teeth do the guiding for you.
This guide walks through the whole process step by step: what to buy, how to prepare, the stitching trick that makes it work, and the two mistakes that cause 90% of invisible zipper failures.
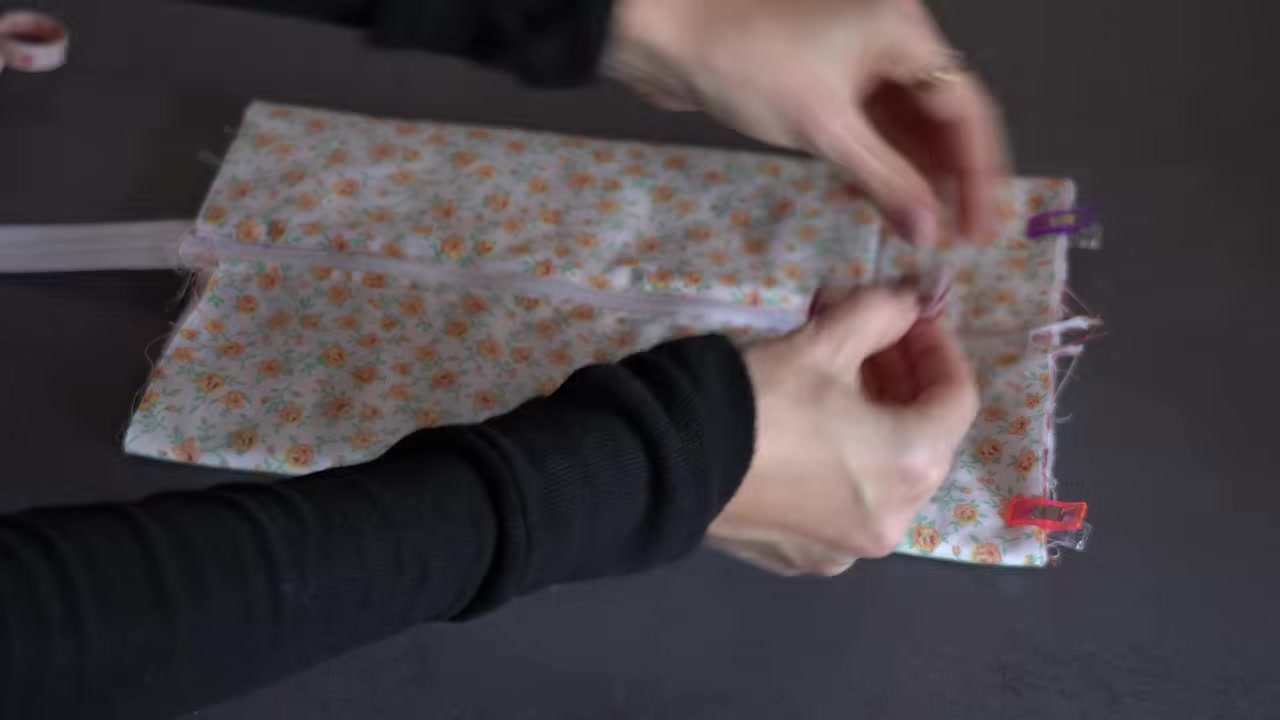
What You Need
- An invisible zipper (also sold as “concealed”). Buy the length stated in your pattern, or longer — you can shorten it from the bottom, never the top.
- An invisible zipper foot. Some sewing machines come with one; otherwise they’re a few euros. You can improvise with a standard zipper foot, but the dedicated foot makes coils sit exactly under the needle. Note: the plastic “invisible zipping foot” that grips coils is different from a metal standard zipper foot — the plastic one is the one you want.
- A regular machine foot for closing the seam afterward.
- Fabric pieces already cut, plus your zipper at least the seam length of your opening.
One vocabulary check: on an invisible zipper, the teeth (coil) sit on the back of the tape, curling away from the fabric. On a normal zip they sit on the face. That curl is what gets hidden inside the seam — and it’s why the technique works.
Step 1: Finish Your Seam Edges First
Finish the edges of the opening with a zigzag or serger before you install the zip. After the zipper is in, that area is nearly impossible to finish neatly. Keep the finish light — heavy overlocking can bump the seam allowances apart later.
Do not sew the seam closed yet. The zipper goes in while the seam is still open.
Step 2: Press the Zipper Teeth Flat
Open the zipper and press the coil flat along the length of the tape, coil side up, on low-medium heat (nylon coils melt — no steam blasting). This is the pro secret: flattening the coil lets you stitch closer to the teeth, which means no gappy “zipper bump” and a much cleaner look. Thirty seconds with the iron, transformative result.
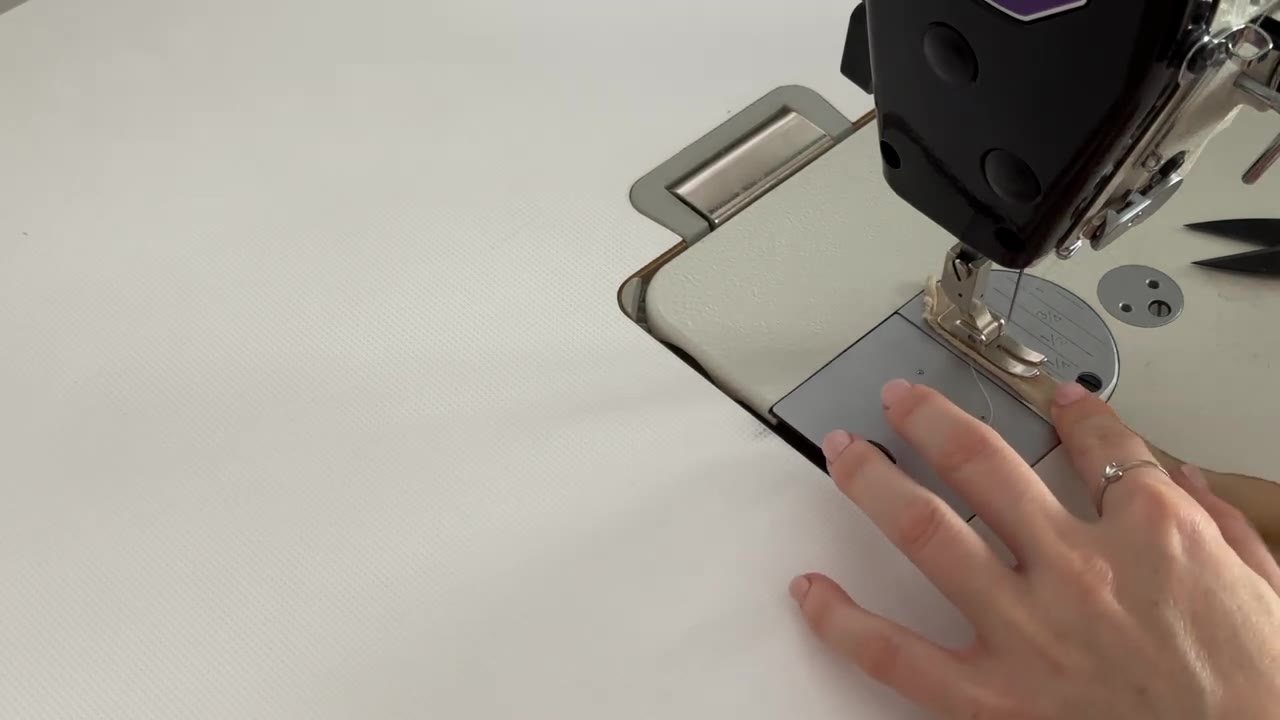
Step 3: Place the Zipper Face Down on the Fabric’s Right Side
Here’s the part to read twice. Lay your garment piece right side up. Lay the zipper tape face down (so the coil side touches the fabric’s right side) along the seamline, tape’s edge aligned with the seam edge. The zipper pull should point toward the top of the opening, and the top stop should sit just below the seamline’s top edge.
For the left side of the opening use the left tape; flip everything for the right side. If you’re a visual learner, every invisible zipper video ever made shows this exact layout — it’s the one moment worth pausing for.
Tip: place the bottom end of the tape first and let any excess length run past the top of the opening. You’ll trim and shorten from the bottom later.
Step 4: Stitch Close to the Coil
Fit the invisible zipper foot. Stitch from the top of the tape downward, right in the groove next to the unrolled coil. Go slow at the slider — it’s bulky. Repeat on the other side with the other tape.
The mirror-image rule: both sides must be stitched at exactly the same distance from the teeth, starting at exactly the same point at the top. If one side is 2mm off, your seam will twist or the zip will ripple when closed. Mark the top starting point on both tapes with a pin before you start, and check that both pins sit at the same fabric level.
Step 5: Close the Rest of the Seam
Zip the zipper up partway to check it looks even — then unzip again (and fish the pull back down past where you’ll sew, so you don’t sew over it). Switch to your regular presser foot, and with the seam still open, start just above where your zipper stitching ended, and sew the rest of the seam at your normal seam allowance. Backstitch at the start.
Hold the seam allowances together flat as you start so there’s no gap at the “join” — that little junction is what separates good invisible zips from great ones. Press the finished seam allowances open over a seam roll or a towel, from the wrong side, using the tip of the iron. The heat re-rolls the coil back into its hidden position.
Step 6: Shorten the Zipper (If Needed)
Too long? Measure and cut from the bottom, then whip-stitch around the coil a few times right where you cut to make a new stop. Never shorten from the top — the top stop and slider are what make the zip function.
The 2 Mistakes That Cause Most Failures
- Uneven stitching distance between the two sides. The symptom: the closed zip ripples, or the seamline walks off the zipper at the bottom. Fix: mark both starting points with pins at the same level and stitch both tapes identically.
- Sewing the seam closed before installing the zip. Then there’s no opening to insert it into, and unpicking a finished seam to save it is miserable. The zip goes into an OPEN seam. Always.
Runners-up: forgetting to press the coil flat (result: a visible bump), and using a walking-foot-level of force at the slider (go slow there, or you’ll bend the needle).
Where You’ll Use This Skill
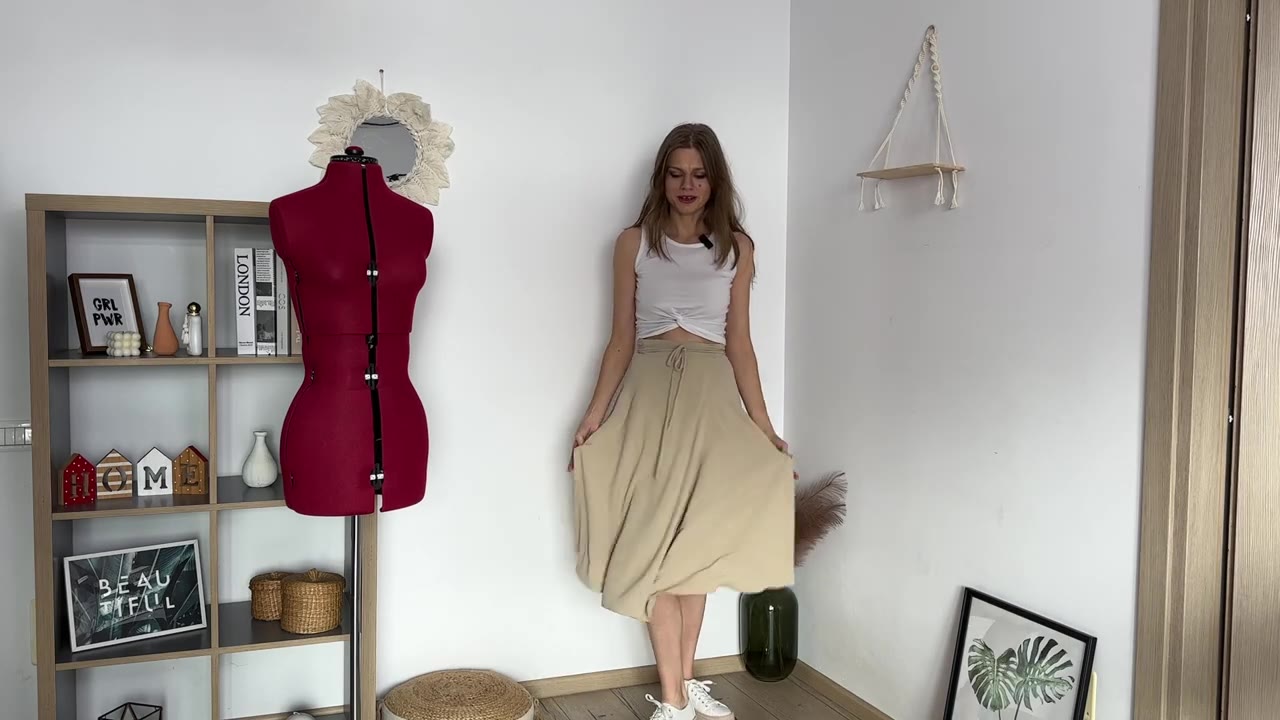
Once you can sew an invisible zip, a huge slice of the pattern catalogue opens up — skirt waistbands, dress back closures, cushion covers, bags. Our 90s A-Line Skirt pattern is a classic first invisible-zip garment: an easy silhouette where the zip is the only “real” technique, and the fit is forgiving while you learn. For a stretch option, the Slip Dress pattern also pairs beautifully with an invisible zip at the back.
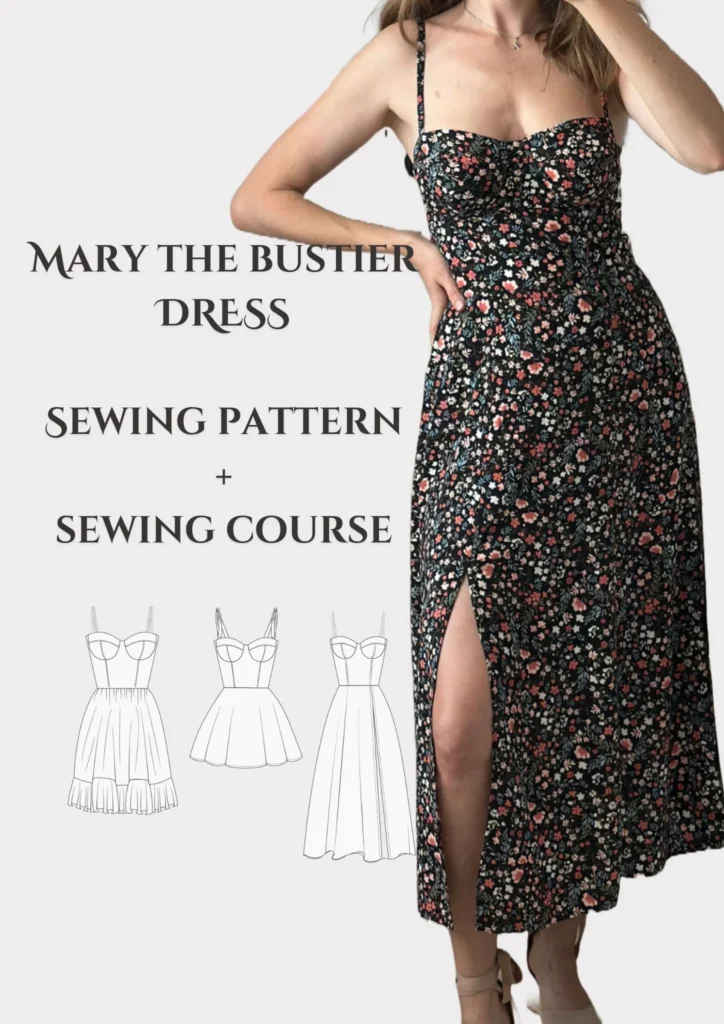
And if you want to take garment skills further, invisible zippers are exactly one of the techniques covered in full video in the Bustier Dress Sewing Course — every step demonstrated on camera, from zip insertion to cup construction, so you’re never guessing from a diagram.
First Garment? Start Here
New to garment sewing altogether? Our guide to sewing your first skirt covers fabric choice, cutting, and construction from zero — and it’s the natural companion to this zip technique.
Ready to Put It into Practice?
The Bustier Dress Sewing Course covers invisible zippers, boning, and cup fitting in full video — see what’s inside the course →. New to this? Practise the technique on a free pattern first.