Seasonal
How to Make Fabric Bows — Oversized Bow Tutorial (With Measurements)
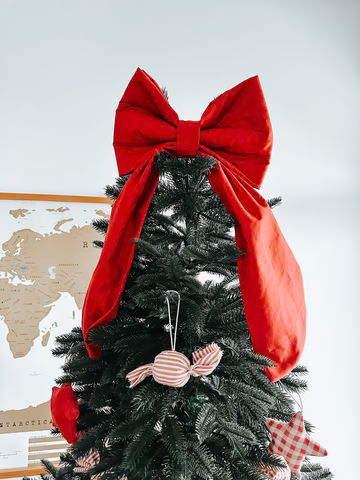
An oversized handmade bow is one of the most charming and versatile holiday decorations you can create. Add one to your Christmas tree, a wreath, a staircase, your gift wrapping or a cosy corner of the house, and it instantly looks like you spent far longer on it than you did.
I used mine as a tree topper and it looked full, structured and immediately festive, but it adapts to any décor idea you have in mind. The best part: this bow is beginner-friendly, needs only three simple rectangles of fabric, and looks wonderfully luxurious once assembled.
Supplies You’ll Need
- Medium-weight woven fabric — gingham, cotton, linen, velvet and so on
- Wadding or batting for quilting (this is what gives the bow its structure)
- Matching thread
- Scissors or a rotary cutter
- A sewing machine
- An iron
- A hand needle, for closing the tails after turning
If you want the fabric to hold a crisp, full shape, don’t skip the wadding — it’s the difference between a bow that flops and a bow that stands up on the tree.
Pattern Pieces (Exact Measurements)
Here are the exact measurements I used. Everything is cut as a plain rectangle — no paper pattern needed.
Bow Loops
- 58 cm (W) × 40 cm (H)
- Cut 1 fabric + 1 wadding
Tails
- 30 cm (W) × 84 cm (H)
- Cut 1 fabric
Centre Knot
- 12 cm (W) × 20 cm (H)
- Cut 1 fabric
How to Sew the Bow
Create the Bow Loops
- Fold the rectangle right sides together along the long edge.
- Sew the long edge with a 1 cm seam allowance.
- Turn the tube right-side out and press.
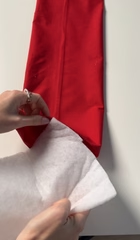
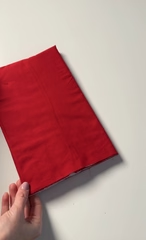
- Cut a piece of quilt batting the same size as the new rectangle and slide it inside.
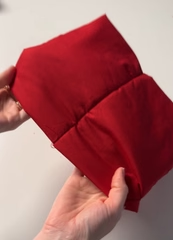
- Fold it in half and sew along the short edge, then turn it so the raw edges sit inside.
How to Sew the Tails
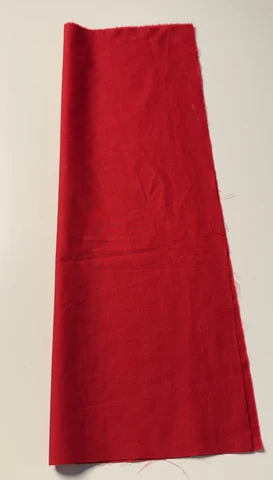
- Take the rectangle for the tails.
- Fold it in half lengthways (long edges together), right sides facing.
- Fold it in half again widthways (short edges together), still right sides together.
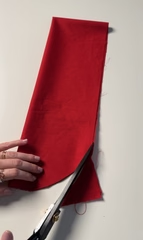
- At the folded corner where all the raw edges meet, cut a smooth curved shape — this becomes the rounded ends of the tails once it’s unfolded.
- Unfold the widthways fold, keeping it folded lengthways.
- Sew all the way around the raw edges following the curve you cut, leaving a small gap in the middle for turning.
- Turn the piece right-side out through the gap.
- Press the tails neatly so the curved ends are smooth.
- Hand-stitch or machine-stitch the opening closed.
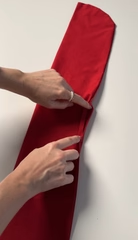
How to Sew the Centre Knot
- Take the centre piece — this becomes the knot in the middle of the bow.
- Fold it in half lengthways, right sides together, so the long edges align.
- Sew along the long edge with a 1 cm seam allowance.
- Turn the tube right-side out so the seam is hidden inside.
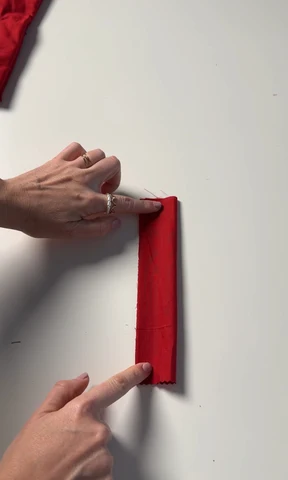
- With the seam facing down, fold the piece in half widthways so the short ends meet.
- Sew the short ends together to create a loop.
- Turn the loop so the seam sits at the back.
Assemble the Bow
- Take the centre knot loop you just made.
- Thread the bow loops and the tails through the centre knot — tails at the back first, then slide the bow loops through the front.
- Wiggle and adjust the fabric until everything sits neatly.
- Use your fingers to form soft pleats in the middle until the bow looks full and even.
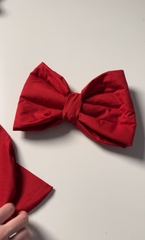
And that’s it — your bow is finished!
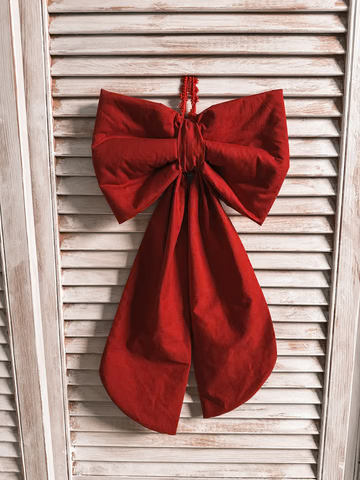
Ways to Use Your Fabric Bow
- As a tree topper — the reason I made mine
- Tied onto a wreath or a front-door garland
- On a staircase banister or the back of a dining chair
- On wrapped gifts instead of a ready-made ribbon
- As a wall or shelf decoration — it’s a seasonal piece you’ll bring back year after year
If you’re making a whole set of festive décor this year, the bow pairs beautifully with the Stella quilted tree skirt — same buffalo-check mood, same beginner-friendly level.
Want a free pattern to practise on first? Grab a free sewing pattern here — no email needed to browse, and the beginner patterns are the easiest way to test a fabric before you cut into the good stuff.
Read Next
- What to Sew for Christmas: 8 Handmade Gift Ideas
- Your 8-Week Christmas Sewing Countdown
- Free festive makes: fabric Christmas trees, tree ornaments, candy canes and a tree pillow
- New to PDF patterns? How to print and assemble one