Sewing Tutorials
The Complete Guide to Sewing a Bustier Dress (Even for Beginners)
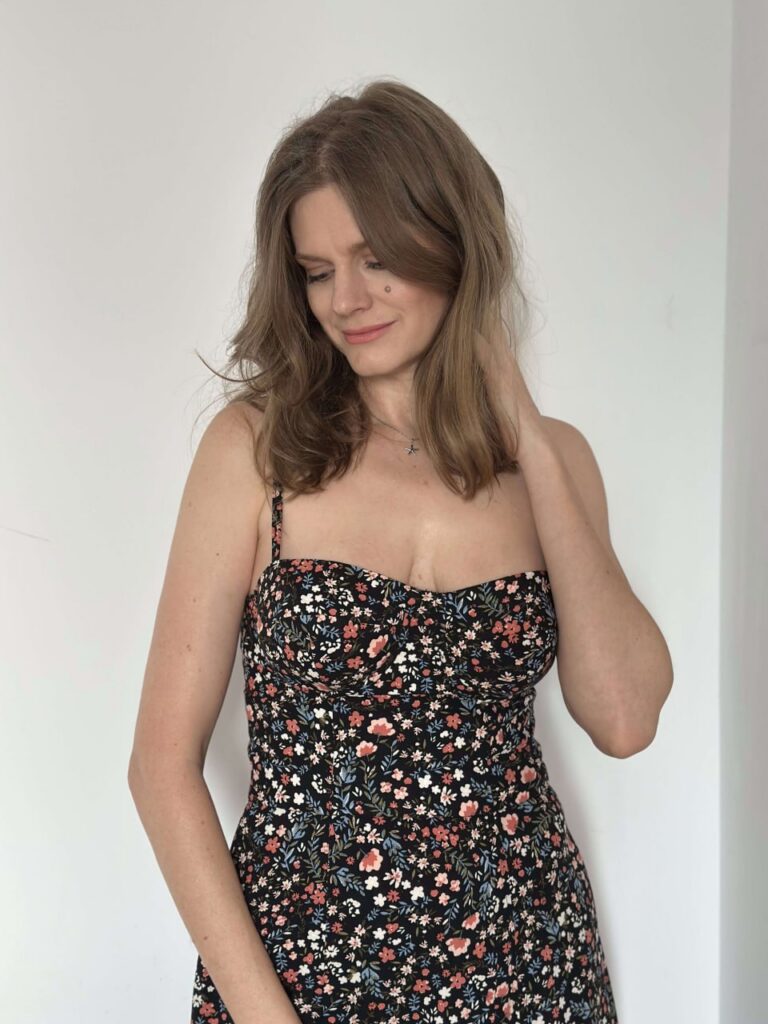
A bustier dress looks like the most intimidating thing in the sewing world: structured bodice, cups, boning, underwire. It dresses like couture. But here’s the truth from behind my sewing table — a bustier dress is just a series of small, manageable steps, each one teachable. If you can sew a skirt with a clean waistline, you can learn to sew a bustier. This guide walks you through everything: what a bustier actually is, how cup sizing works in patterns, whether you need boning, and how to actually make your first one without tears.
What Is a Bustier Dress, Exactly?
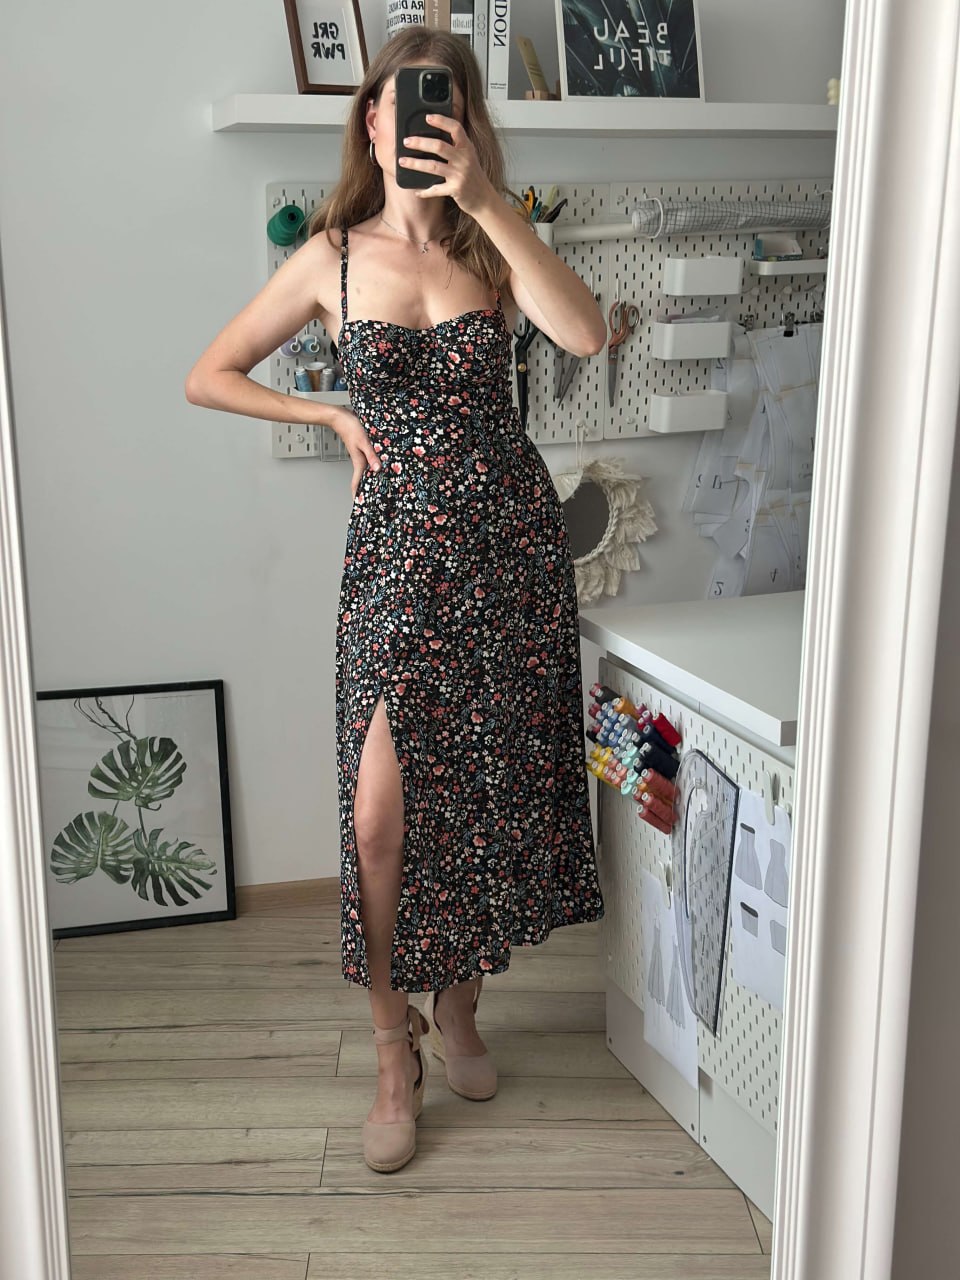
A bustier is a fitted, structured bodice that supports the bust without straps doing all the work. Unlike a regular bodice, which drapes over the body, a bustier is engineered to hold its shape — think of it as the love child of a dress and a well-made bra. It typically features:
- Cup sections — separate pattern pieces shaped around the bust, like the cups of a bra
- Boning channels — vertical stays (plastic or steel) that keep the bodice from collapsing or wrinkling
- A stable inner structure — fusible or sewn-in interfacing that gives the fabric the strength to support
- A defined waistline — the bodice ends cleanly at the natural waist, where the skirt attaches
That structure is why bustier dresses photograph the way they do: smooth bust, crisp seam lines, no pulling, no gaping. It’s also why the fitting is different from anything else you’ve sewn — and why it deserves a guide of its own.
Bustier Cup Sizing: The Part That Confuses Everyone
Standard sewing patterns assume a B cup and adjust the rest through bust ease. Bustier patterns usually don’t. Instead, they offer multiple cup sizes as separate pattern pieces — often a full range like EU 32–50 with 12 cup options — because the cups ARE the garment. Choosing your cup size is a fitting decision, not an afterthought.
How to find yours: measure your high bust (around the chest above the bust, snug under the arms) and your full bust (around the fullest point). The difference between the two tells you your cup size — roughly 2.5 cm (1″) per cup. Pick the pattern’s cup option that matches, and choose the band/underbust size from your underbust measurement, not your full bust. If you’re between sizes, start with the larger cup and trim after a fitting — it’s much easier to take a bustier in than to let it out through boning channels.
One more beginner-friendly reassurance: you do not need to achieve bra-level fit on your first try. The goal is a smooth, supported bodice. A well-drafted multi-cup pattern gets you 90% of the way there before you ever thread a needle.
Boning vs No Boning: What Does Your Bustier Actually Need?
Boning sounds dramatic but it’s just thin, flexible stays sewn into channels inside the bodice. Here’s the honest breakdown:
- With boning: the bodice stays smooth and upright all evening, no bunching at the waistline. Necessary for strapless styles, heavy fabrics, or if you want that corseted silhouette. Use plastic (Rigilene or zip-tie style) for your first make — it sews in easily and is forgiving.
- Without boning: perfectly fine for lighter fabrics, partial-structure styles, or dresses with straps. Interfacing alone can carry a lot of the structure.
My rule of thumb: if the bodice has cups and a strapless or wide neckline, bone it — at minimum in the side seams and princess seams. If you’re nervous, sew the boning channels as a separate inner layer; you can always remove them later.
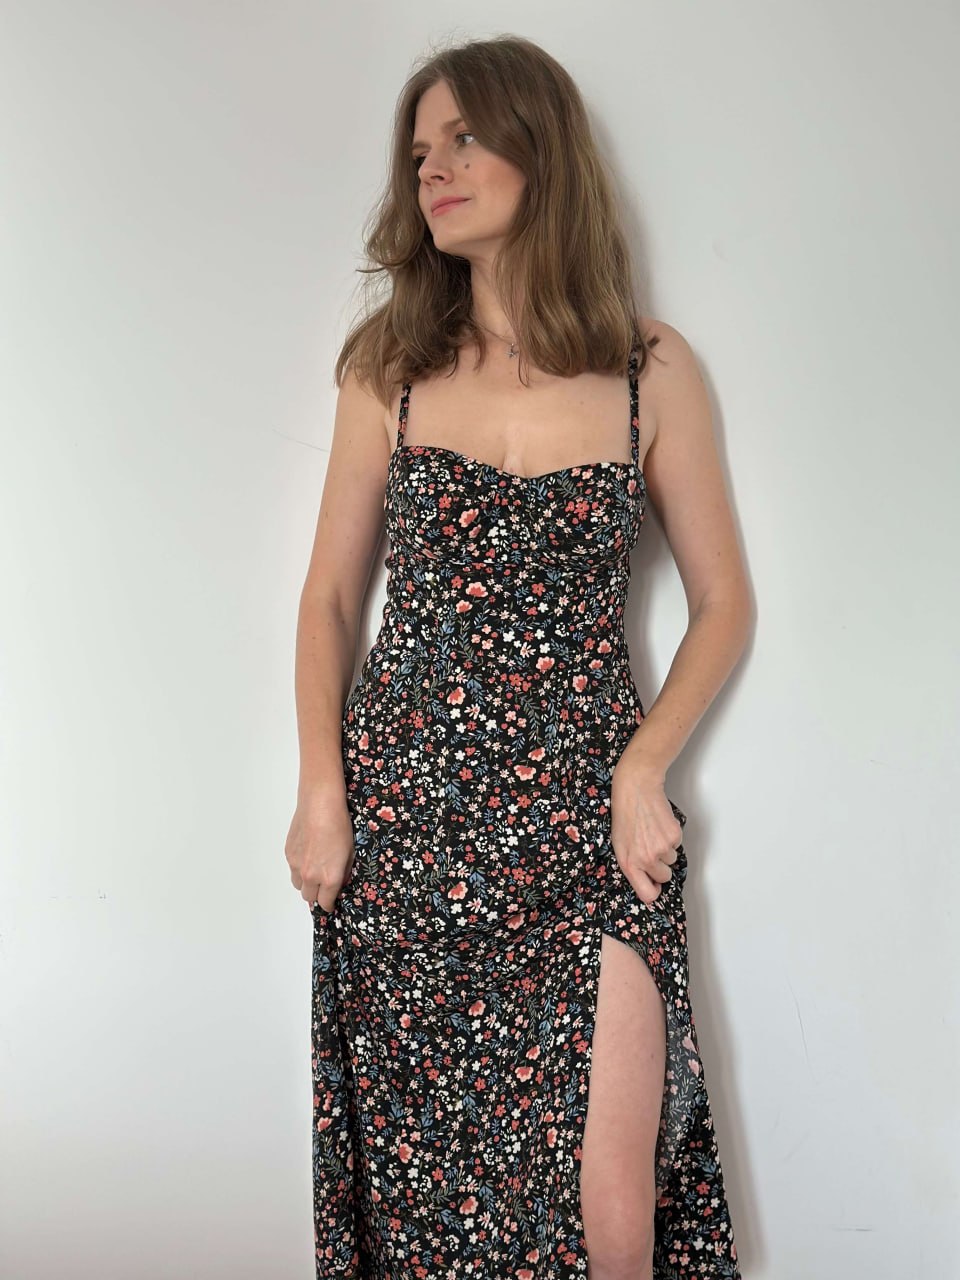
Choosing Your Bustier Style
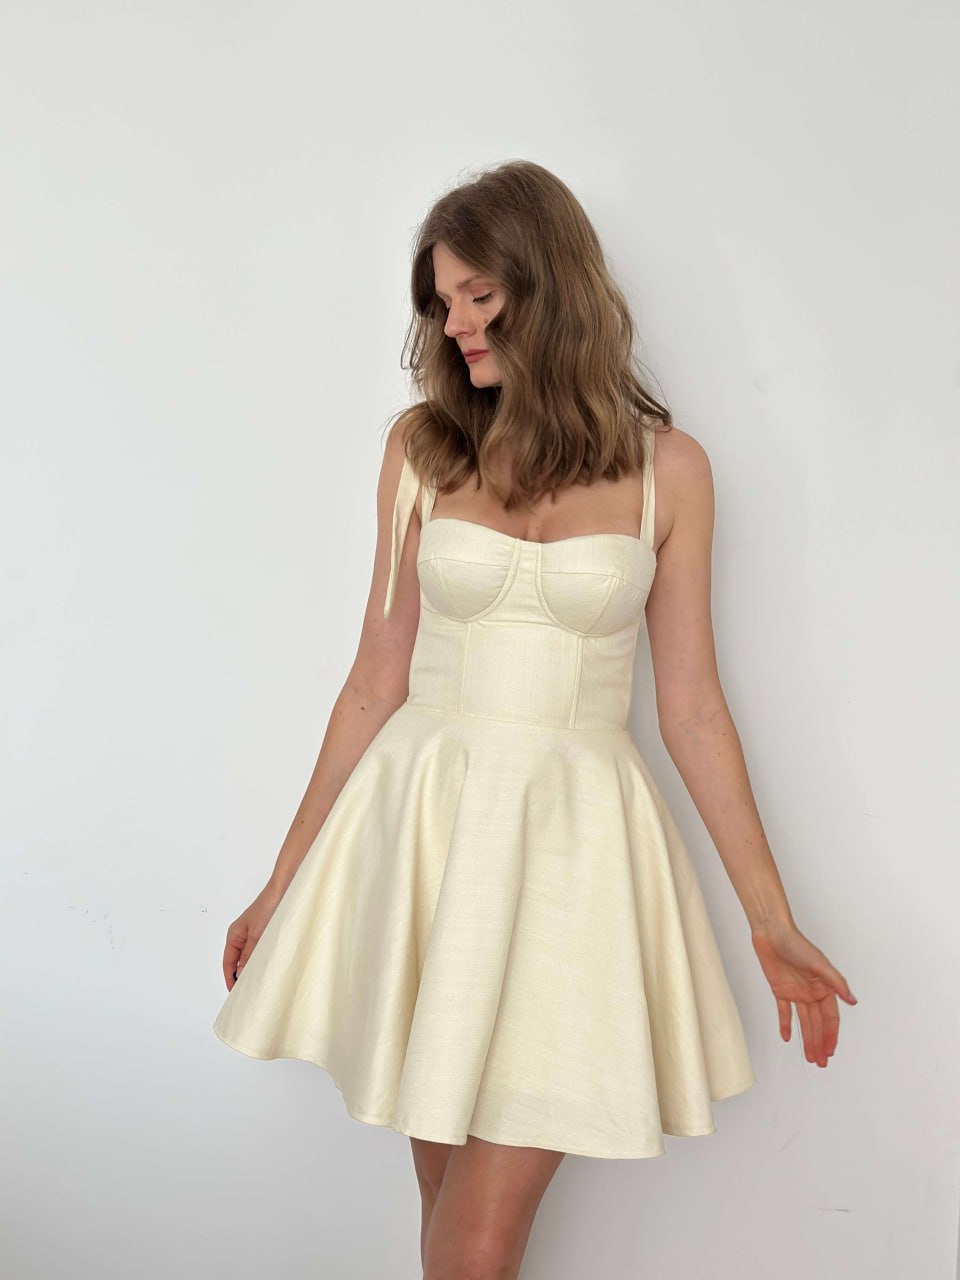
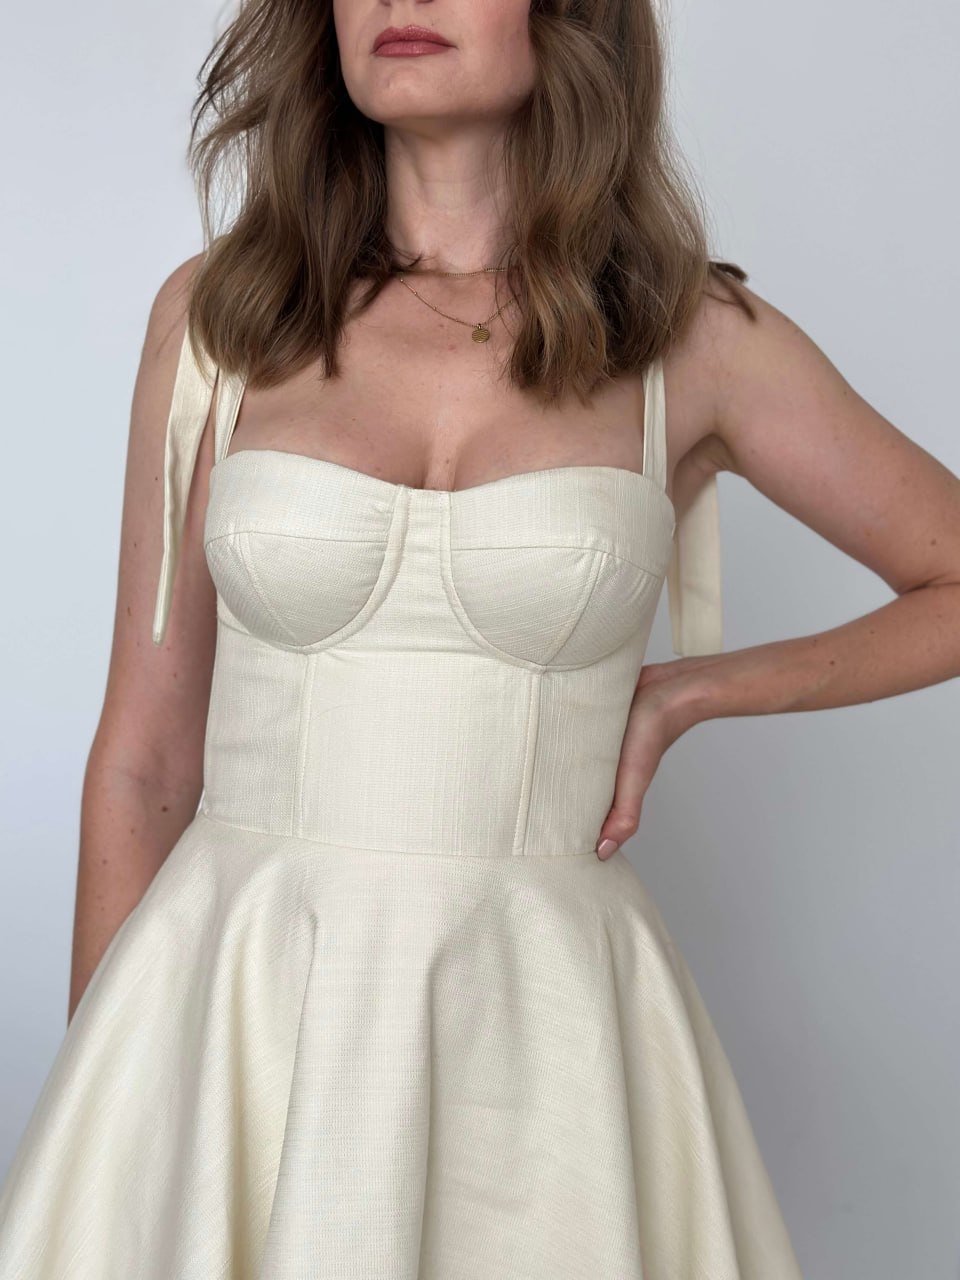
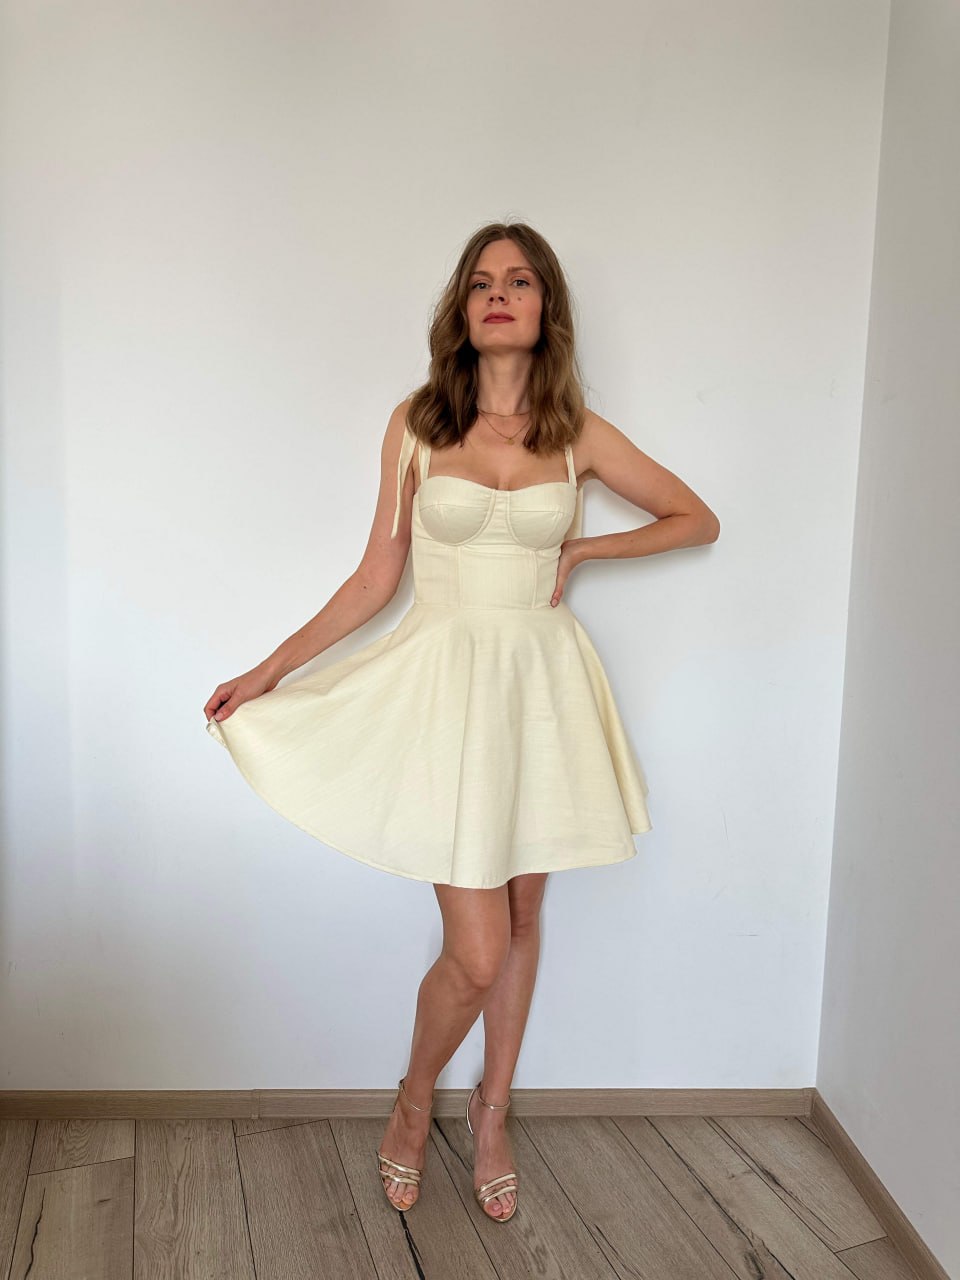
Bustier dresses come in a few recognizable silhouettes, and your fabric choice should follow the style:
- Classic strapless / sweetheart neckline — the red-carpet cut. Needs boning and non-stretch fabric (cotton poplin, taffeta, duplex, or a stable satin).
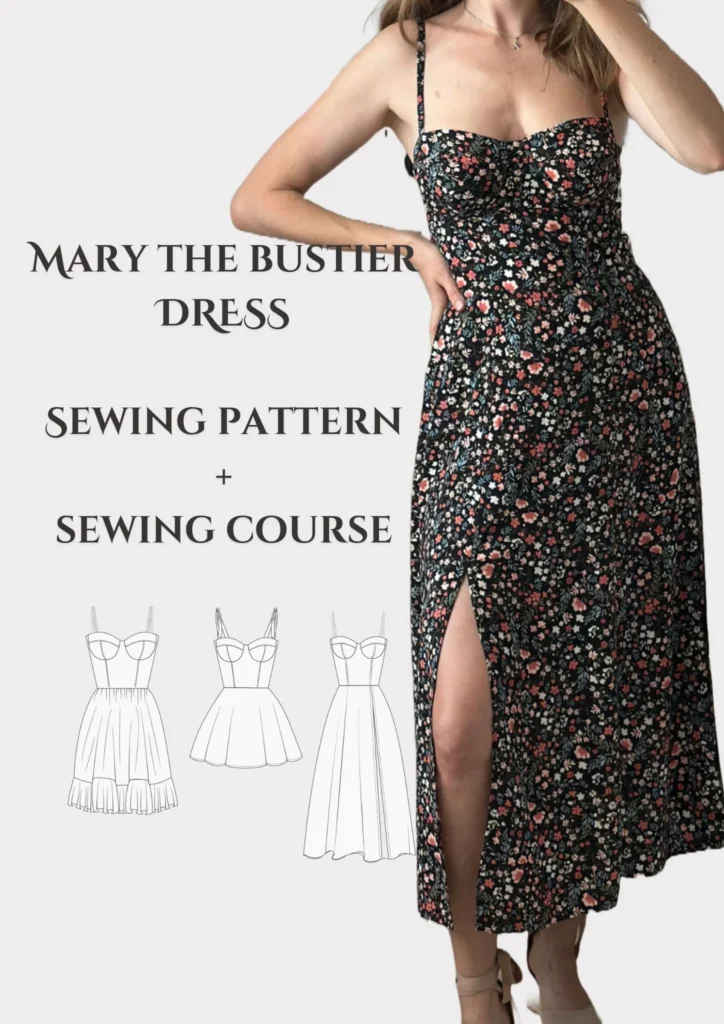
- Bustier with skirt variations — the same structured bodice paired with an A-line, straight, or flounced skirt. The most versatile option: one bodice, three completely different dresses.
- Corset-style with lacing or back ties — the most adjustable fit, great if you’re between sizes.
- Soft bustier — structured cups but no boning, in a fabric with a little body. Best first project.
Avoid stretchy or slippery knits for your first bustier. A stable woven fabric behaves predictably, holds interfacing well, and shows off the seam structure that makes bustiers look expensive.
How to Actually Make a Bustier Dress: The Realistic Step Order
Here’s the workflow that keeps beginners from drowning — each step is a small win:
- Print and assemble the pattern properly. Bustier patterns live or die on accurate printing — cups have curves that expose any scaling error. Check the test square, and if you’ve never assembled a PDF pattern, read my print and assembly guide first.
- Make a bodice toile (muslin). Just the bodice, in cheap woven fabric. Check the cup fit, the underbust, and the neckline gape. One hour here saves the whole project.
- Interface everything. Fuse interfacing to the bodice self pieces AND the lining pieces. Structure comes from layers, not tension.
- Sew the cups. Stitch the cup sections, press seams open over a rolled towel or tailor’s ham, and clip the curves. Curves pressed well = a smooth bust.
- Attach cups to band and sides. Match notches carefully; the underbust seam is the fitting heart of the garment.
- Add the lining and boning channels. Sew the lining, layer it with the bodice, and stitch boning channels from the seam allowances — boning hides inside the seams, neat and invisible.
- Sew the skirt and attach at the waist. If the bodice fits, this part is like any other dress.
- Finish closures last. Invisible zip or lacing back — after everything else fits.
The honest time estimate: a structured bustier dress is a 2–4 session project, not a weekend sprint. That’s normal. It is the kind of garment people ask “where did you BUY that?” about — because the engineering shows.
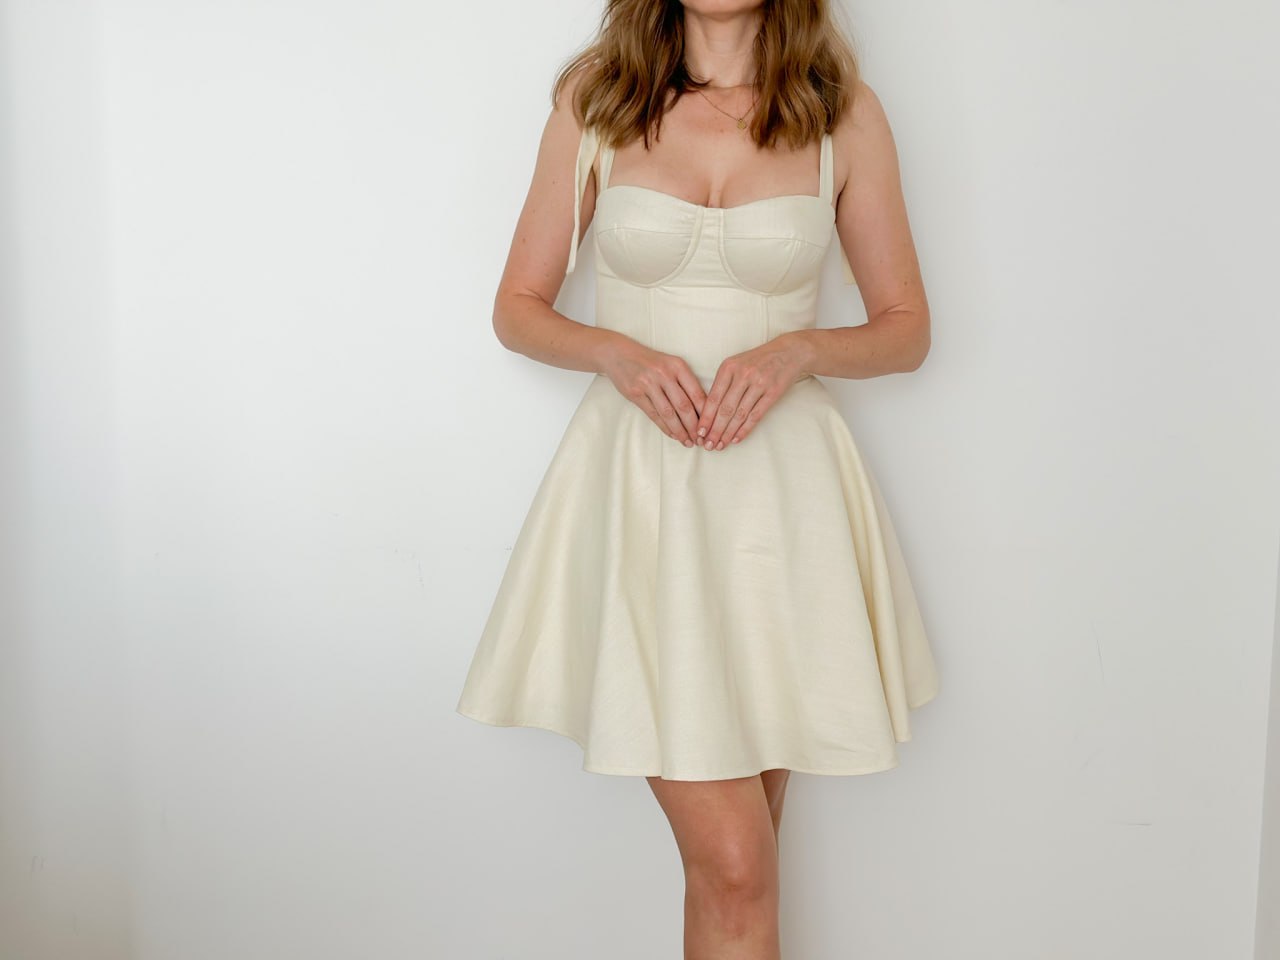
The Fastest Way for a Beginner: Follow a Full Video Course
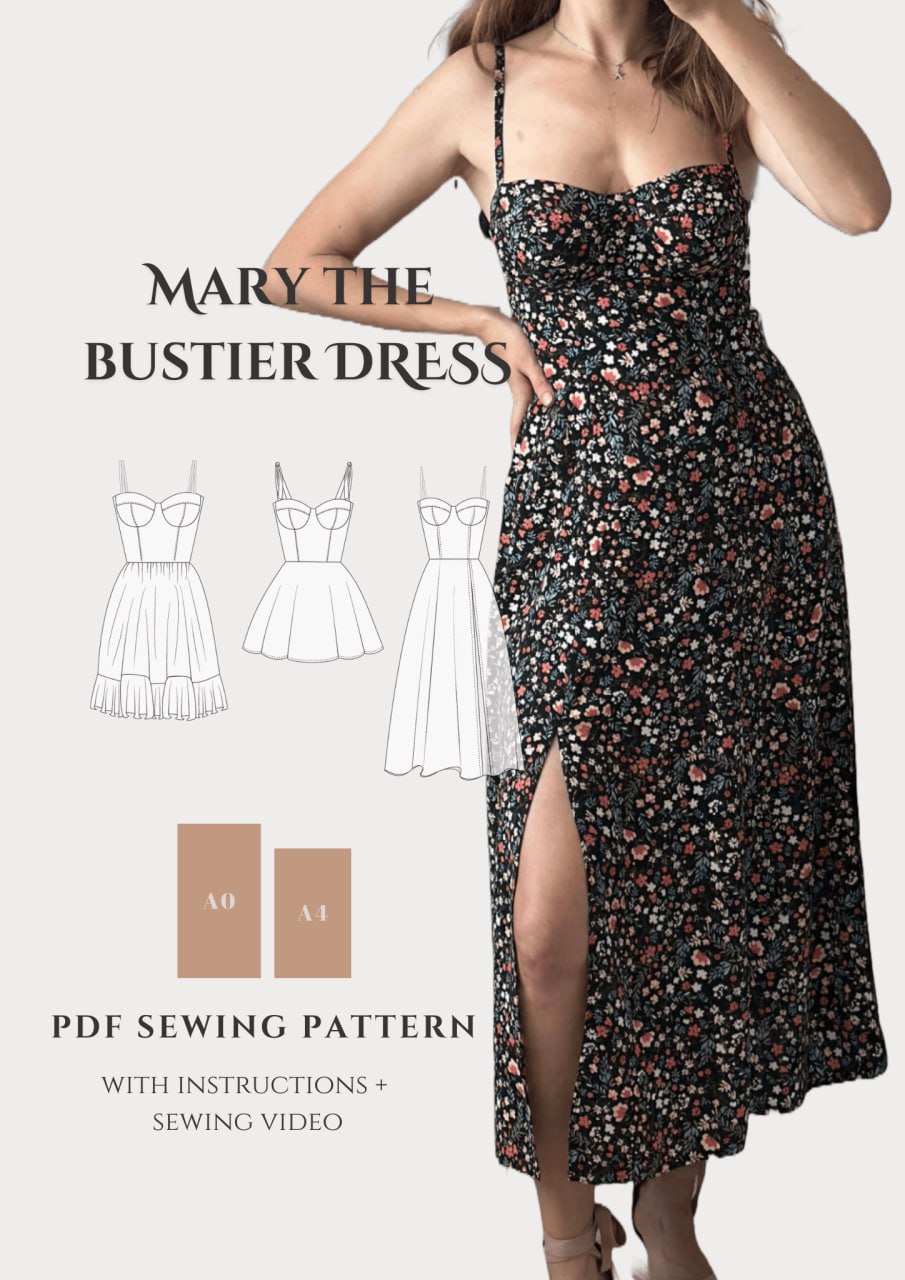
I’ll be straight with you: the bustier is the one garment where written instructions alone leave too many gaps. Pressing direction, boning placement, foam cup insertion, underwire installation — these are things you need to SEE. That’s exactly why I built the Bustier Dress Sewing Course: full video guidance through three different bustier styles, foam cups, boning and underwire, from toile to finished dress. You follow along step by step, in order, with nothing skipped. It’s the difference between attempting the project and actually finishing it.
If you’d rather test the waters first, the Bustier Dress Sewing Pattern gives you the full multi-cup pattern with three skirt styles as a standalone PDF — the budget-friendly way in, with the same drafting (12 cup sizes, EU 32–50) the course uses. Many sewists start with the pattern, then add the course when they want the video walkthrough for cups and boning.
Common Bustier Mistakes (So You Skip Them)
- Skipping the toile. The one garment where fitting a muslin first genuinely matters.
- Under-interfacing. If the bodice wrinkles at the waistline, the fabric needed more structure, not tighter seams.
- Boning that’s too long. Cut stays to end 1–2 cm inside the seam line edge — boning poking through fabric is a classic first-make souvenir.
- Pressing curves flat. Use a ham or rolled towel; a flat press on a curved seam distorts the cup.
- Choosing stretch fabric “for comfort.” Structure fabrics stretch less and support more. Comfort comes from fit, not give.
If you’re building up to your first structured garment, my beginner patterns roundup is the warm-up lap, and the first-skirt guide covers the waistline finishing you’ll reuse here. Then the bustier is your graduation piece.
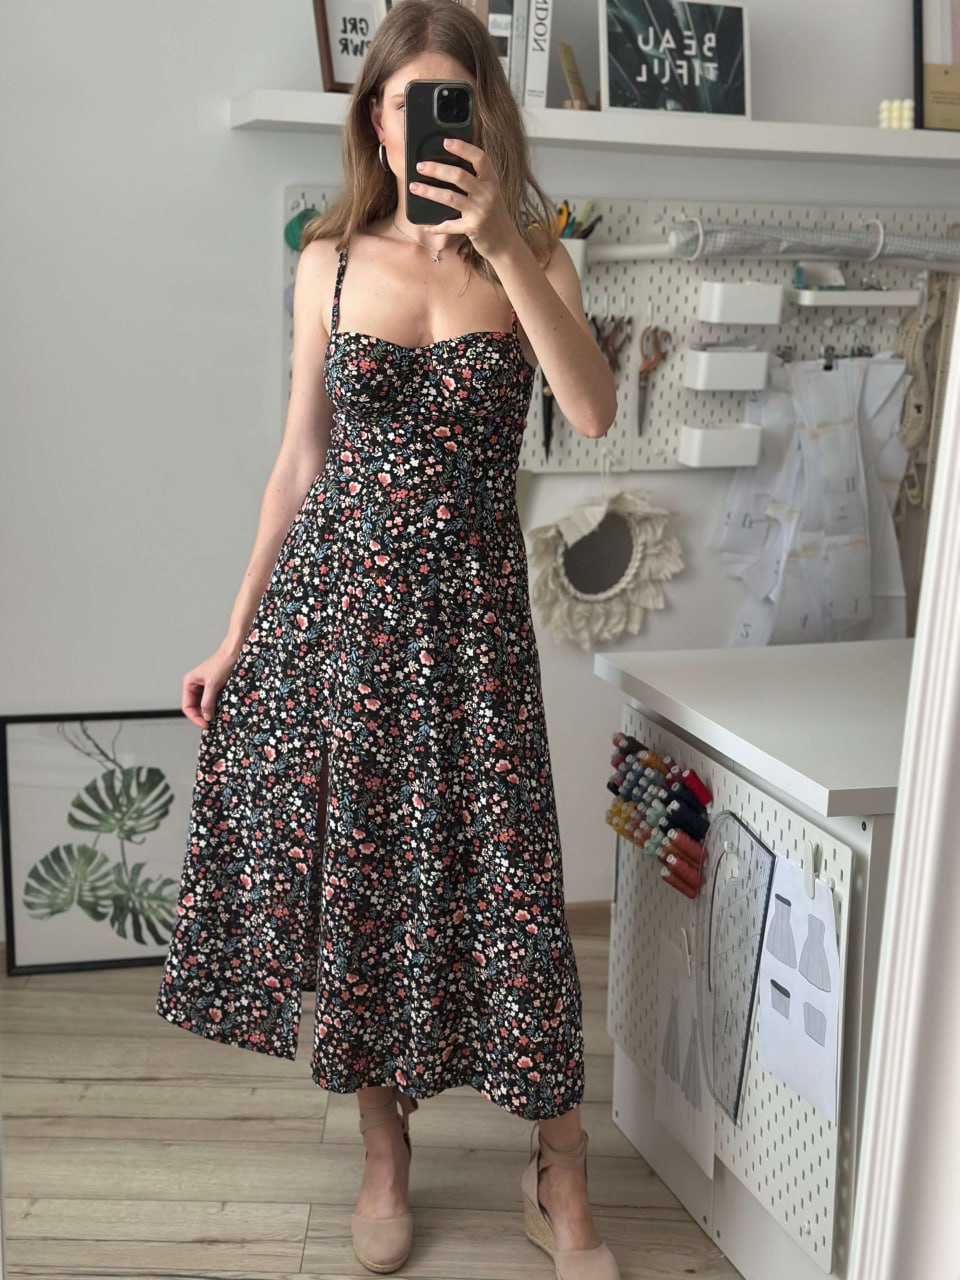
Ready to Sew One?
A bustier dress is the most rewarding garment I know how to make — it teaches structure, precision, and patience, and it fits like nothing off the rack ever will. The Bustier Dress Course walks you through every step → with full video, three styles, and every technique demonstrated. Your first strapless-and-still-standing moment is closer than you think. Want to see the rest of the range? Browse all patterns →, or begin with a free pattern.