Sewing Tutorials
Quilted Makeup Bag Tutorial: Sew the Perfect Gift in an Afternoon
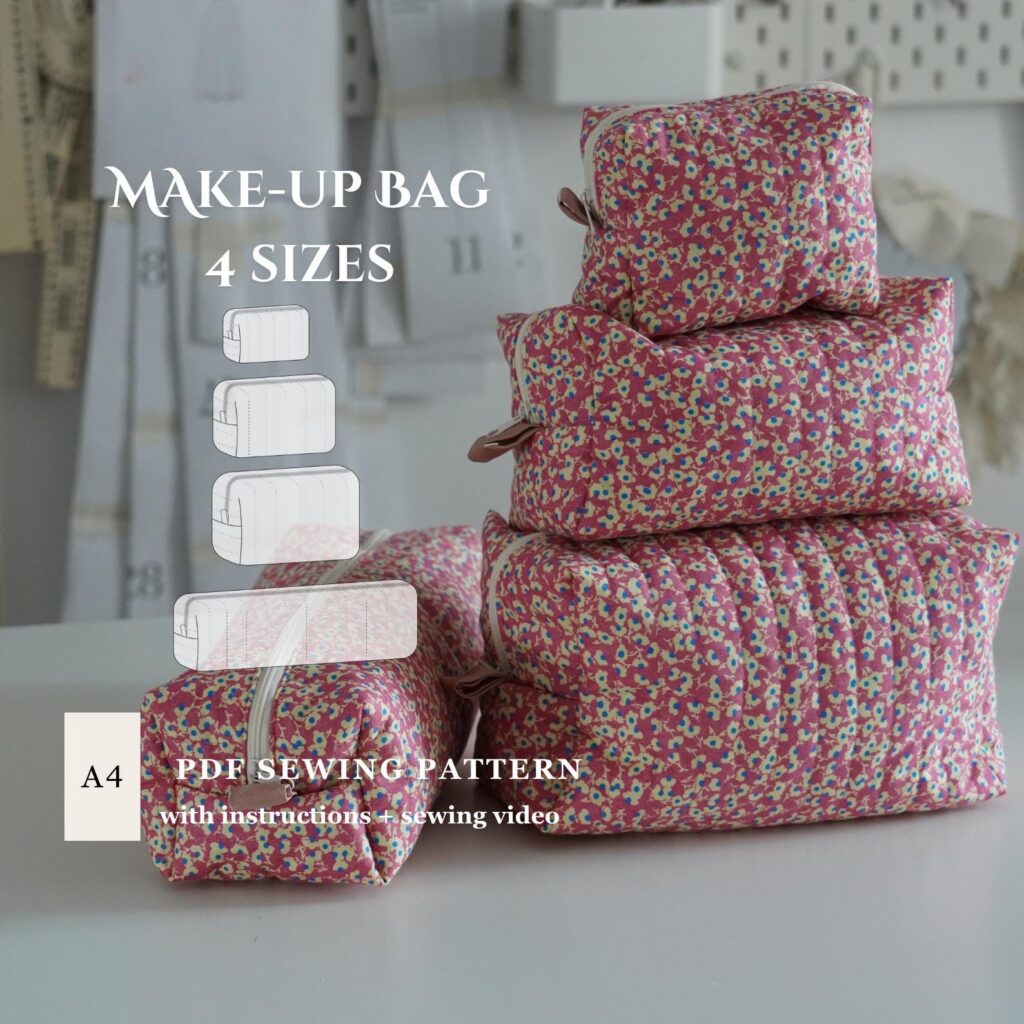
A quilted makeup bag is the perfect project for two reasons: it teaches you quilting and zipper skills in one go, and the result is something you’ll use every single day. Plus, handmade bags make wonderful gifts.
This tutorial walks you through the process using our free Size M pattern. If you want all 4 sizes (the largest fits a Dyson Airwrap), the full 4-size pattern includes a video tutorial too.
What You’ll Need
- Cotton fabric for the outer (2 pieces)
- Cotton fabric for the lining (2 pieces)
- Cotton batting or fusible fleece for quilting
- A zipper (size M needs approximately 20cm / 8″)
- Basic sewing supplies: thread, scissors, pins, iron
Step 1: Quilt the Outer Fabric
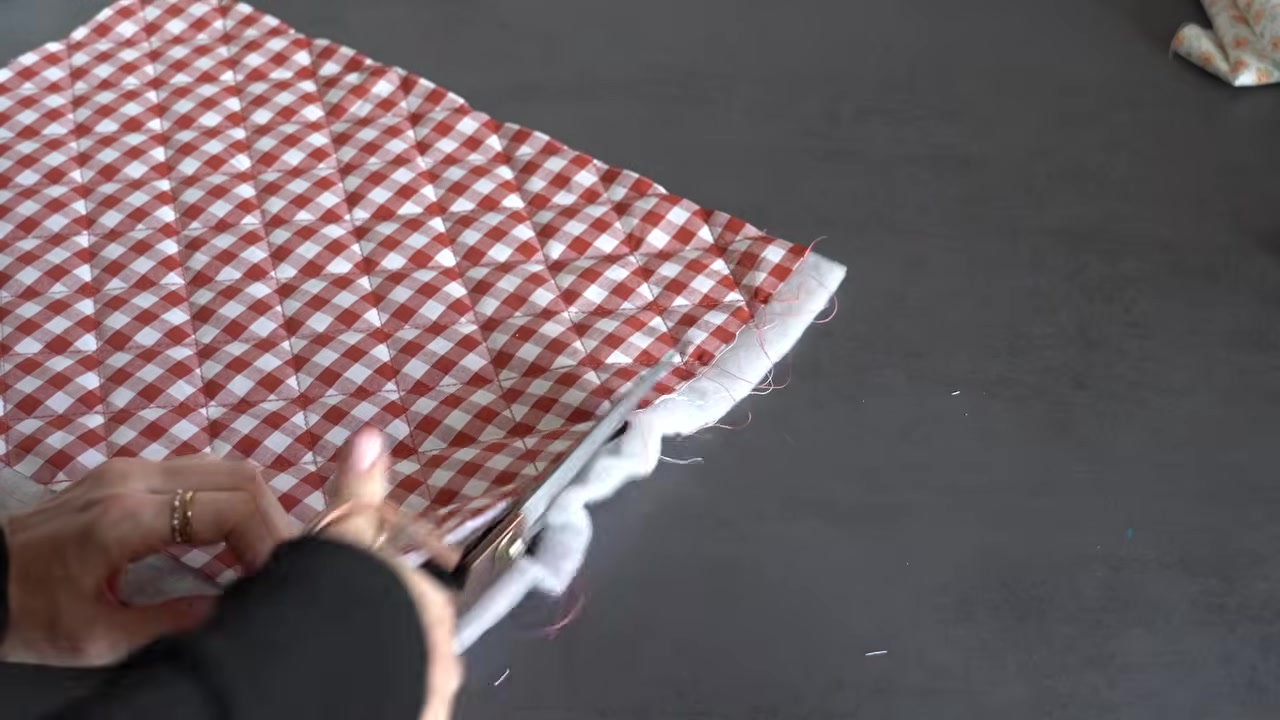
Sandwich the batting between the outer fabric and a backing piece. Quilt in straight lines or a crosshatch pattern — this is where you can get creative. Press well.
Tip: Use a walking foot for even quilting and to prevent the layers from shifting.
Step 2: Install the Zipper
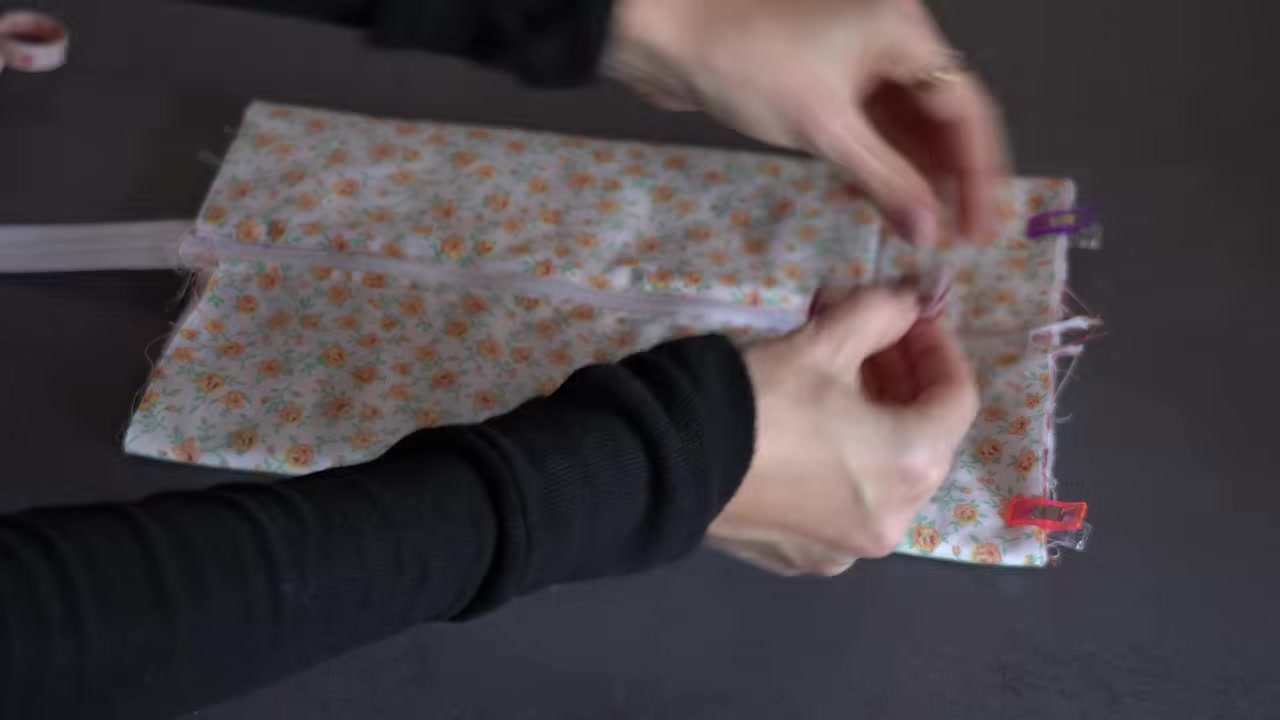
Place the zipper face-down on the right side of the quilted outer piece. Pin and stitch close to the teeth using a zipper foot. Repeat on the other side with the lining piece.
Beginner pitfall: Don’t sew too close to the zipper teeth or the slider will get stuck. Stay 2–3mm away.
Step 3: Assemble the Bag
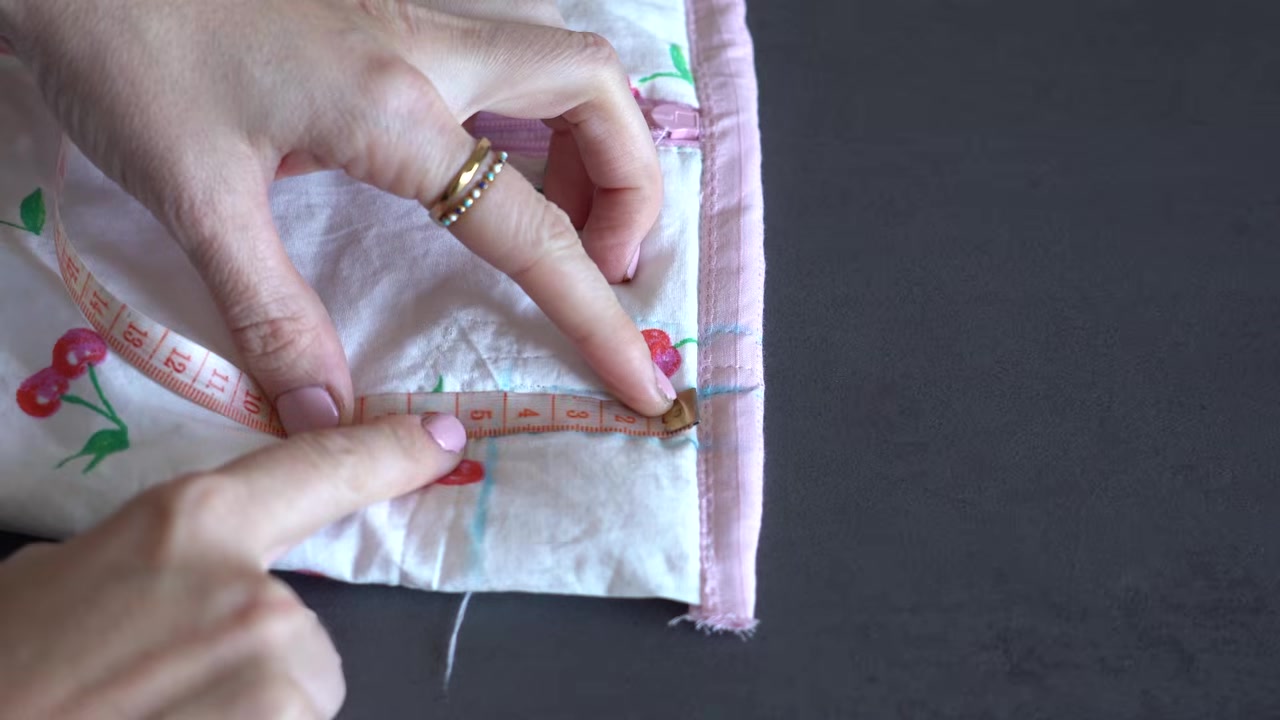
Open the zipper halfway (important — you’ll need to turn the bag right side out!). Fold the outer pieces right sides together and the lining pieces right sides together. Sew around all raw edges, leaving a gap in the lining for turning.
Step 4: Turn & Close
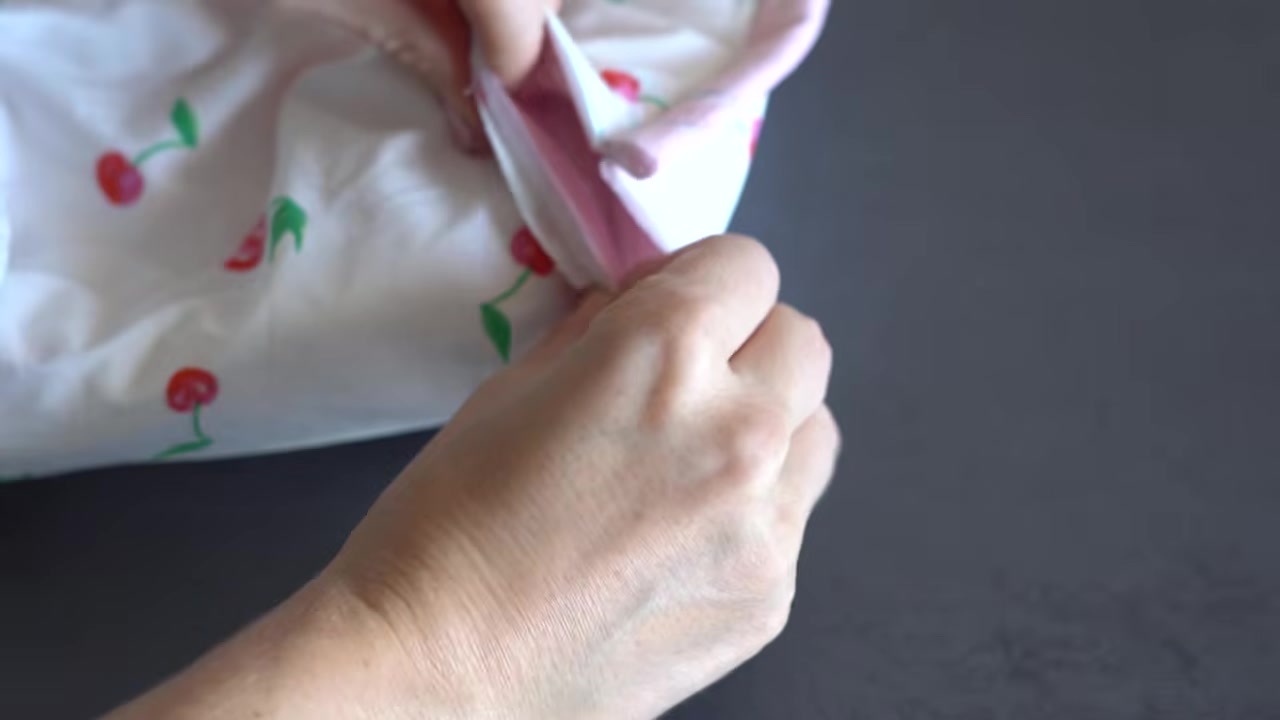
Reach through the lining gap and turn the entire bag right side out. Stitch the lining gap closed by hand or machine. Push the lining inside and press.
Fabric Suggestions
- Cotton-linen blends — beautiful texture, quilts well
- Quilting cotton — endless print options
- Canvas or duck cloth — sturdy and holds its shape
Gift-Worthy?
Absolutely. Fill it with travel-size toiletries for a birthday gift, sewing supplies for a crafty friend, or art supplies for kids. One bag takes about an hour — you can make a set of 3–4 in an afternoon.
Want all 4 sizes (the largest fits a Dyson Airwrap)? Get the full 4-size pattern with video tutorial →
Or start with the free Size M: Download the free pattern → — and there are more free patterns here.