Beginner Guides
How to Sew Your First Skirt: A Complete Beginner’s Guide
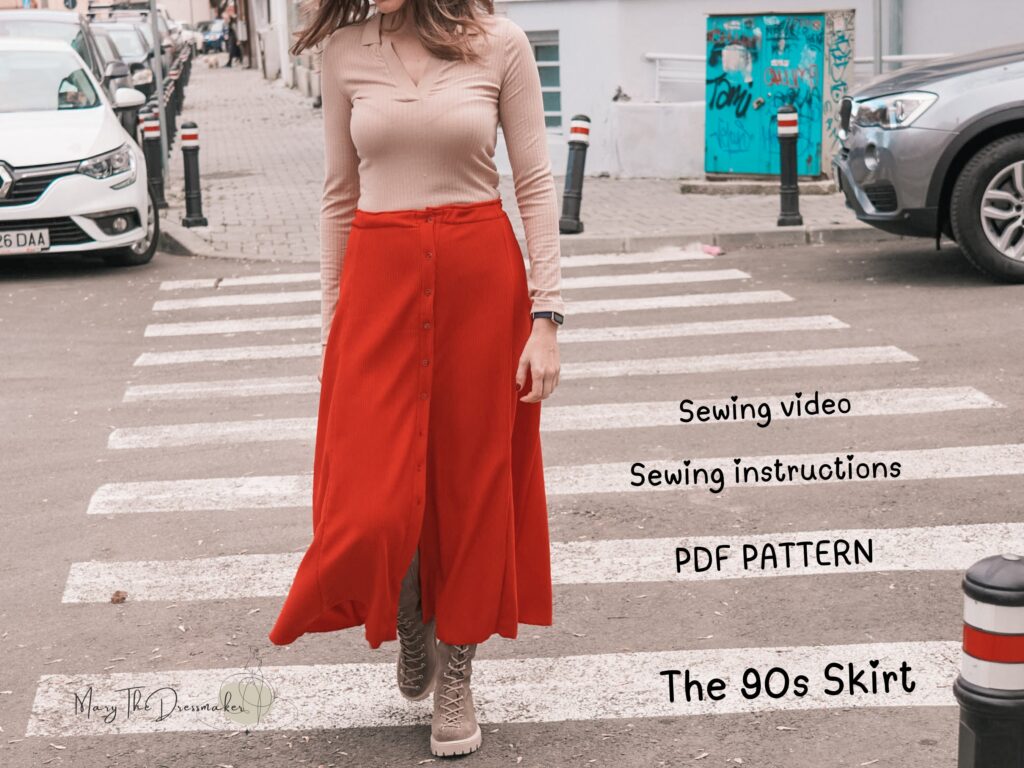
If you’ve never sewn a garment before, a skirt is the perfect place to start — and the A-line skirt is the queen of first projects. It’s forgiving, teaches you essential techniques, and you’ll actually wear the result.
This guide walks you through the entire journey: choosing fabric, cutting, sewing, and finishing — with the pitfalls that trip up beginners flagged at every step.
Why Start with an A-Line Skirt?
- Forgiving fit — the A-line shape skims the body; no precise hip fitting needed
- Few pieces — typically 3–5 pattern pieces, so cutting takes 20 minutes
- Core techniques — you’ll learn waistbands, hems and a center zipper (skills you’ll reuse in every future garment)
- Quick win — most sewists finish in one afternoon
The 90s A-Line Skirt pattern → was designed exactly for this: beginner-level, sizes US 0-18, print at home.
Step 1: Choose Your Fabric
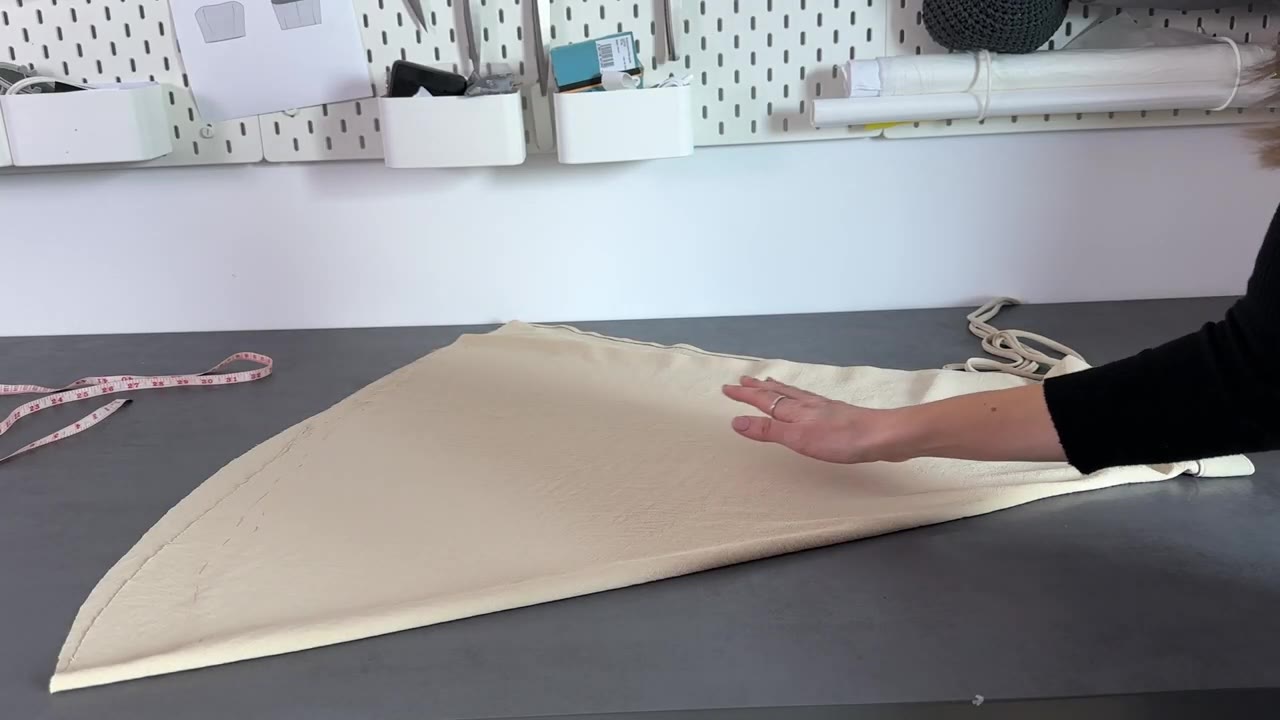
For your first skirt, pick a stable woven fabric — cotton, cotton-linen, or a light canvas. These hold their shape while you sew and press well. Avoid slippery fabrics (viscose, satin) for now; save them for your second make.
Beginner pitfall: pre-wash your fabric! Cotton shrinks, and your perfect waistband will not forgive a shrunken skirt.
Step 2: Print & Assemble the Pattern
Print at home on A4 (turn on “layers” to show only your size) or take the A0 file to a copy shop. Test the calibration square with a ruler before printing the full file — if it’s off, set the printer to “Actual Size.”
Full walkthrough: How to Print and Assemble a PDF Sewing Pattern →
Step 3: Cut
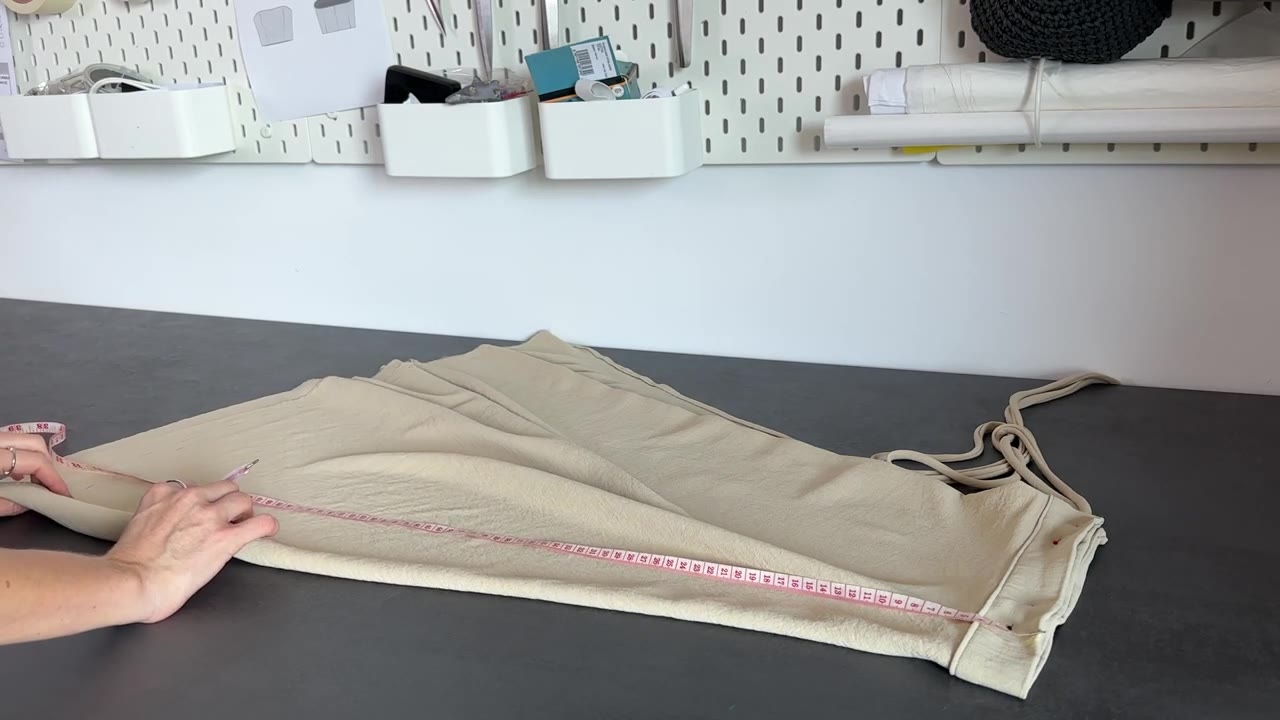
Lay the fabric with the grainline arrows parallel to the selvage. Pin the pattern pieces and cut with sharp scissors — or trace your size onto pattern paper if you want to preserve the original.
Beginner pitfall: don’t skip notches! Those little marks align your pieces later — transfer them with a clip or a fabric marker.
Step 4: Sew
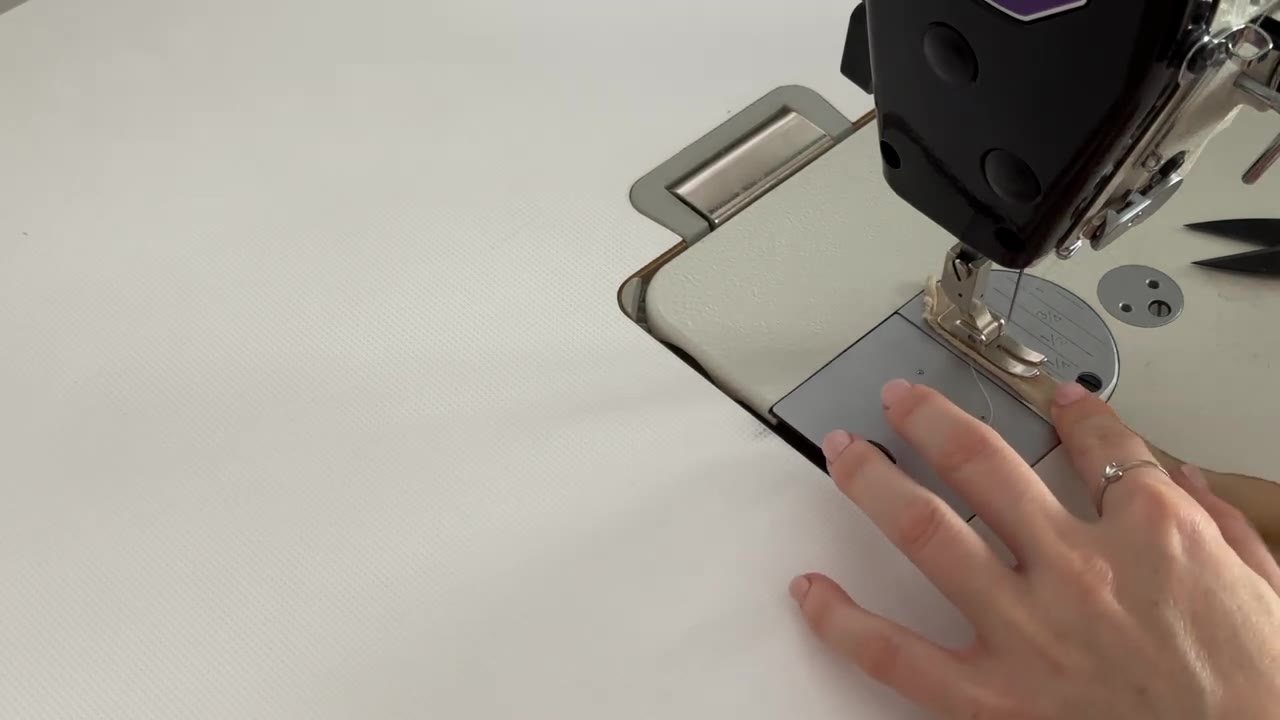
The sewing order for a typical A-line skirt:
- Darts or seam shaping (if your pattern has them)
- Side seams — sew, press open
- Zipper insertion (usually a centered or invisible zipper)
- Waistband — interface it for structure
- Hem — a narrow double-fold hem looks store-bought clean
Beginner pitfall: press every seam as you sew it. Skipping the iron is the difference between “homemade” and “handmade.”
Step 5: Fitting Reality Check
Try the skirt on before attaching the waistband. If the waist is slightly loose or tight, now is the time to adjust — it’s a 5-minute fix at this stage and a disaster after.
Common Beginner Questions
Do I need a serger? No! Finish seams with a zigzag stitch or French seams. Every Sewing Birdie pattern is serger-free.What if my zipper looks wavy? Press it with steam under a cloth — it flattens beautifully.
Can I lengthen it? Yes — lengthen/shorten lines are on every pattern piece, usually marked with “lengthen or shorten here.”
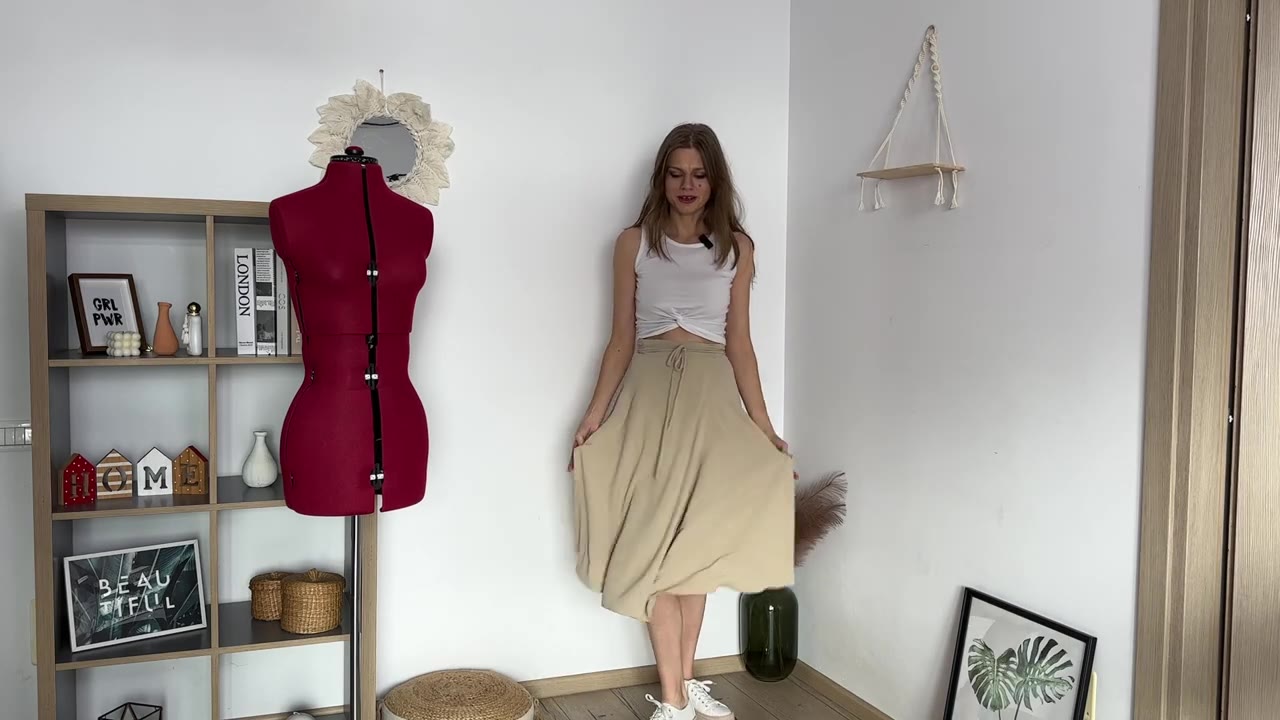
Ready to Sew?
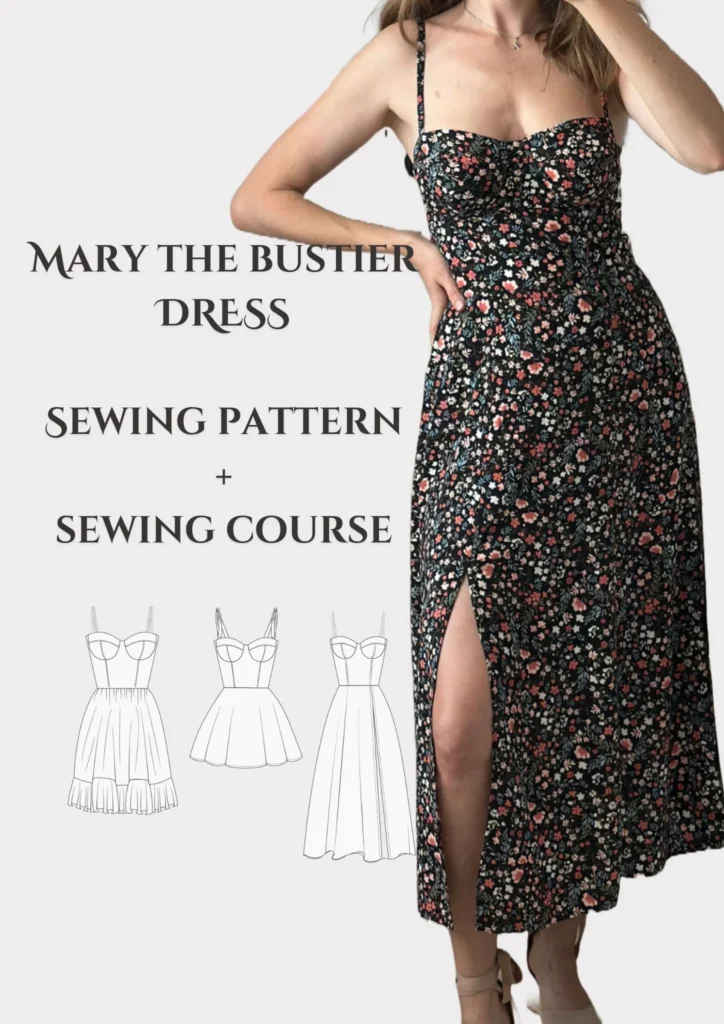
The 90s A-Line Skirt is the ideal first project — or go shorter and twirlier with the Flared Mini Skirt. Both are beginner-friendly with illustrated instructions.
Want maximum guidance? The Bustier Dress Sewing Course teaches professional techniques with full video — your next step after mastering skirts. Not ready to buy yet? Start with a free pattern.